03. Setting Up Green Thumb
Setting Up Green Thumb
A Firebase project contains settings for Firebase tools. It can be linked to more than one app, which is useful when you want to make a version of the same app for different platforms. If you feel comfortable setting up a Firebase project, you can skip this section.
Download Course Resources
Start by downloading the zipped file in the course resources or from GitHub: https://github.com/udacity/firebase-analytics-green-thumb-android
In order to bring in those powerful features we saw in the finished app, we need to create a project using the Firebase console. If you don’t have a Google account yet, you can create one here.
Create Project in Firebase console
Welcome to the Firebase console!
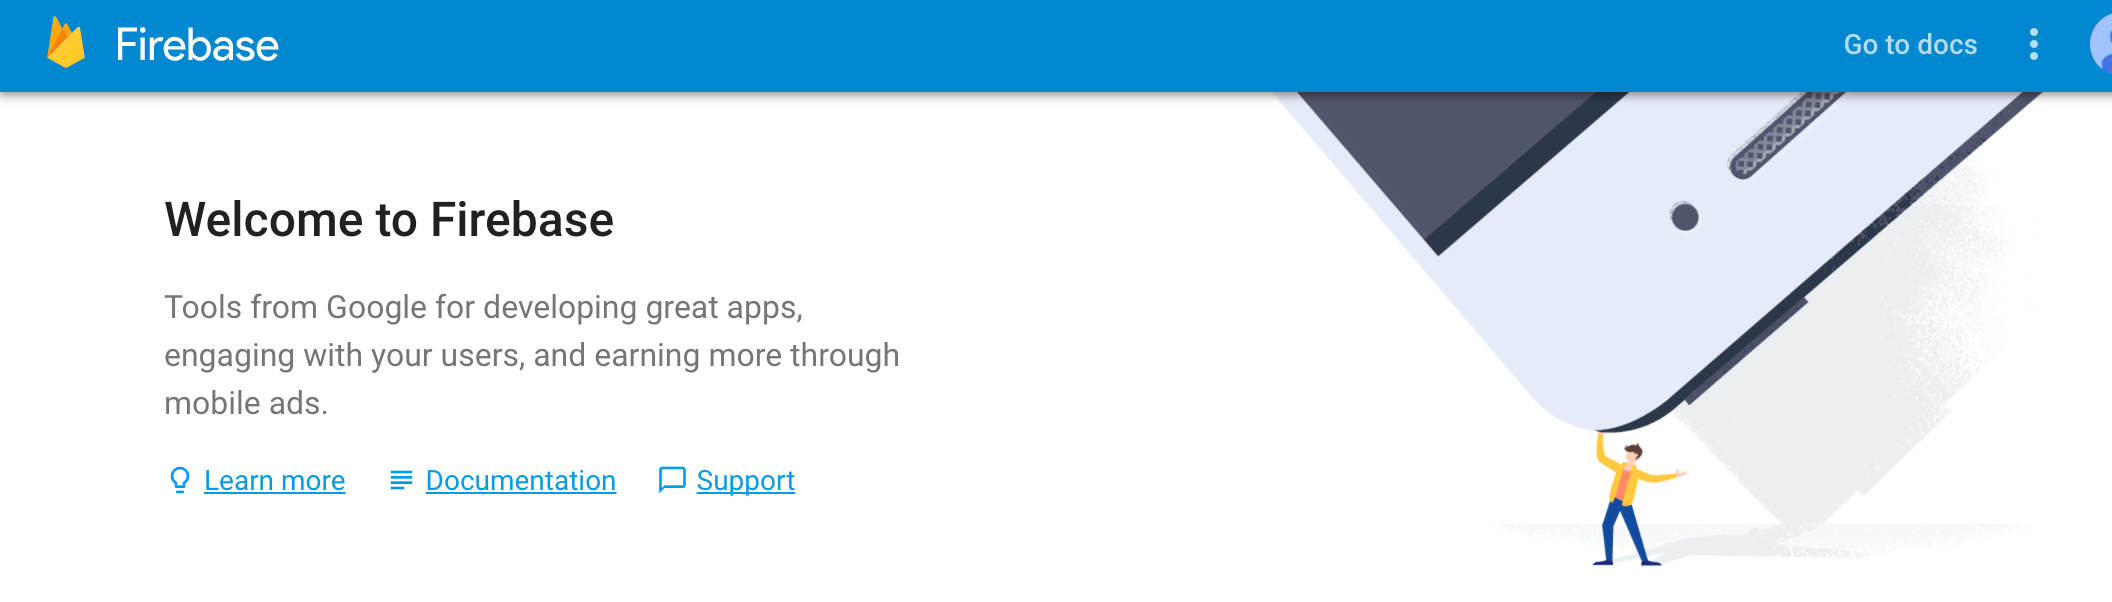
Select the Create New Project Button
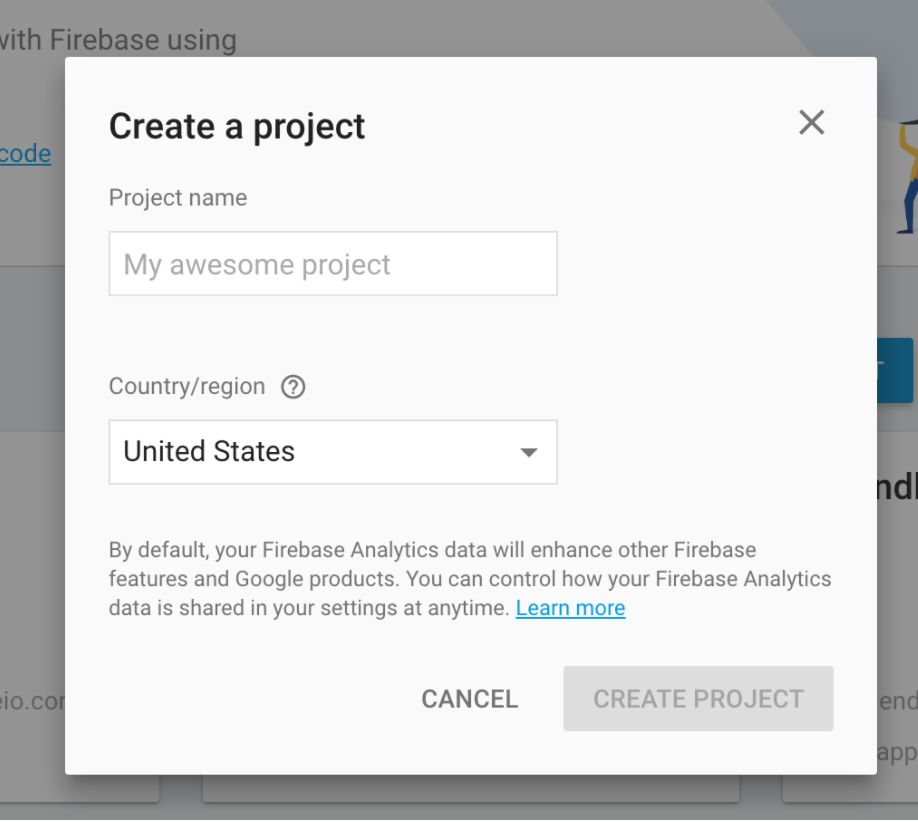
and name your project.
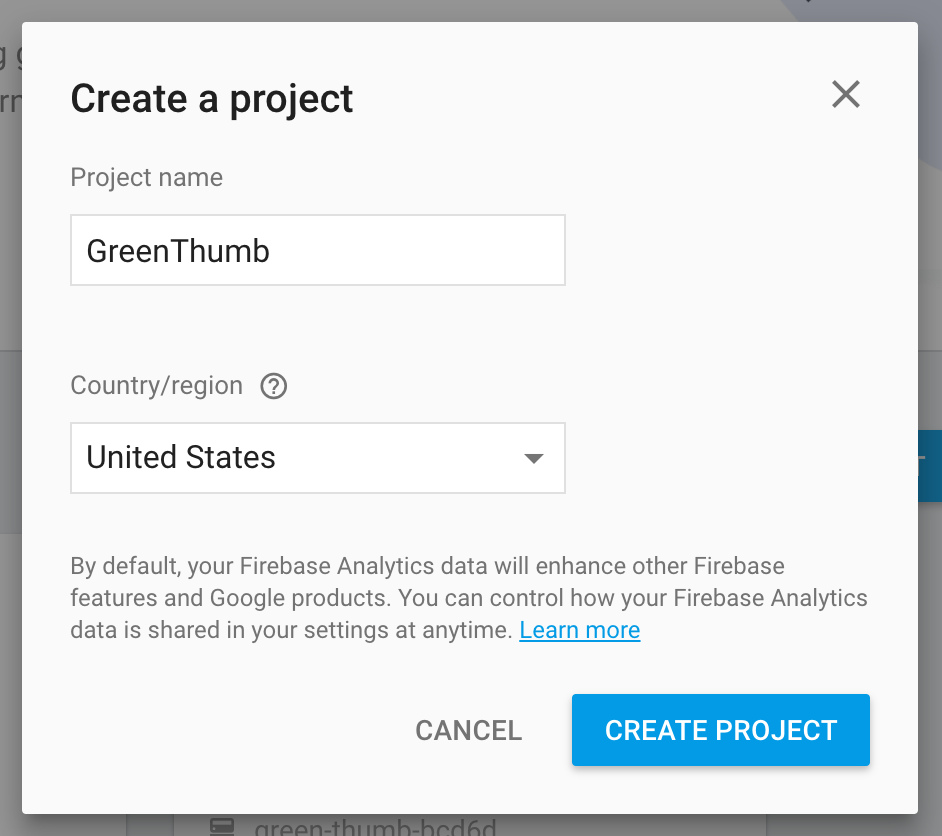
In this case, the name of our app is GreenThumb, so let’s name the project GreenThumb as well.
Then, select the country/region of your organization/company. Your selection also sets the appropriate currency for your revenue reporting. The selected country does not determine the location of your data for Firebase features. Google may process and store Customer Data anywhere Google or its agents maintain facilities.
Once your project is created, you can see the project’s Overview page.
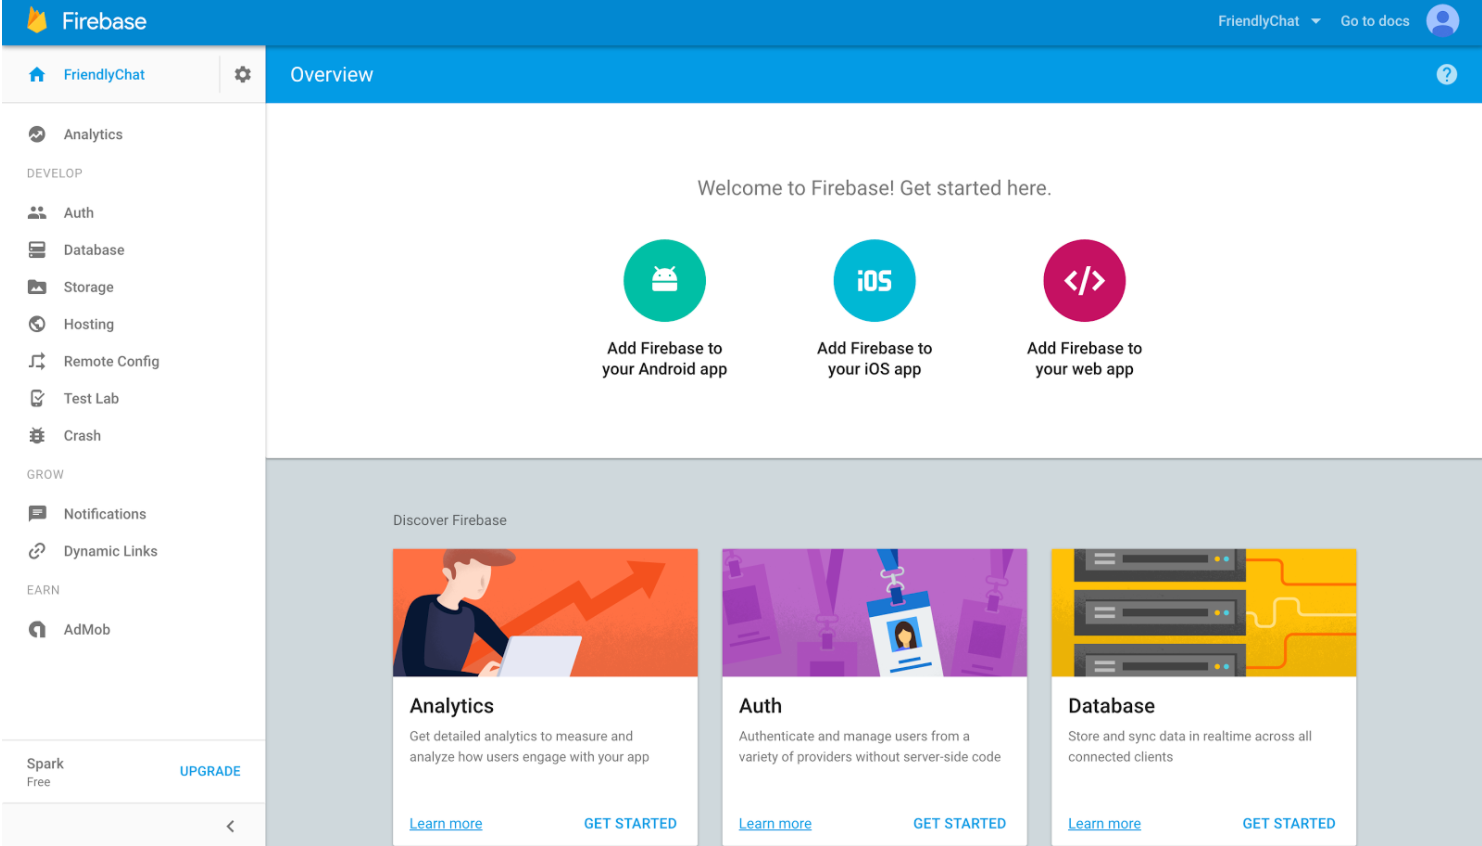
Take a moment to look at the Console home page for Green Thumb. You’ll see tabs on the left associated with Firebase features. Feel free to click on the tabs and see where they lead. If you would like to learn more about these features, check out the Firebase website or Firebase in a Weekend: Android, our course that covers several Firebase features. When you’re ready, move on to the next step in setting up your app.
To proceed with the setup, select Add Firebase to your Android app.
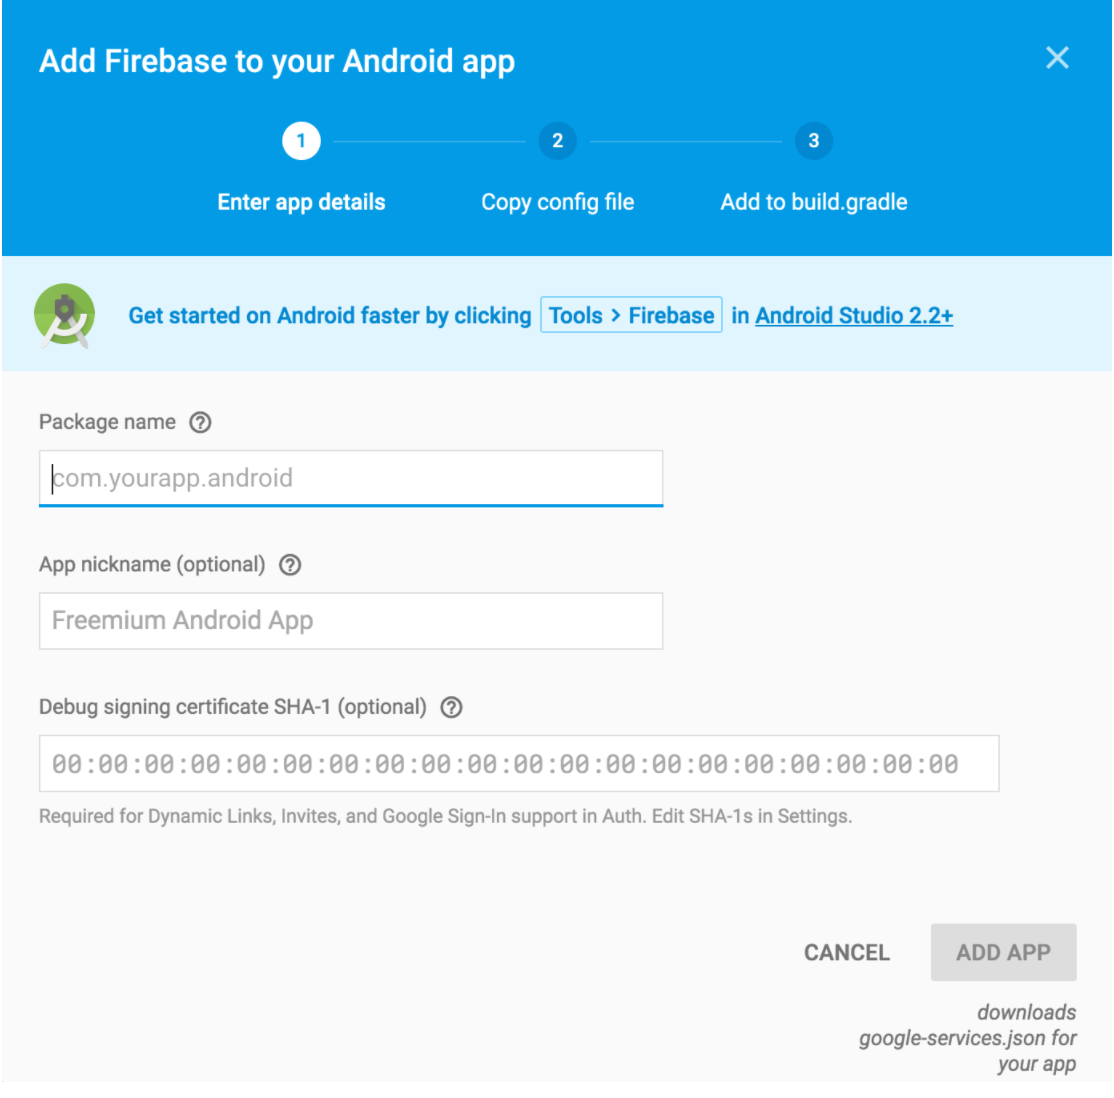
- Package name: Enter
com.google.firebase.udacity.greenthumb. - App nickname (optional): You can leave it blank or add an optional name.
- Debug signing certificate: You don’t have to add a signing certificate SHA-1 here because we will not be using Dynamic Links, Invites, or Google Sign-In support. However, if you want to learn more about adding this for future apps you can check out this link.
When you are done, click the Add App button.
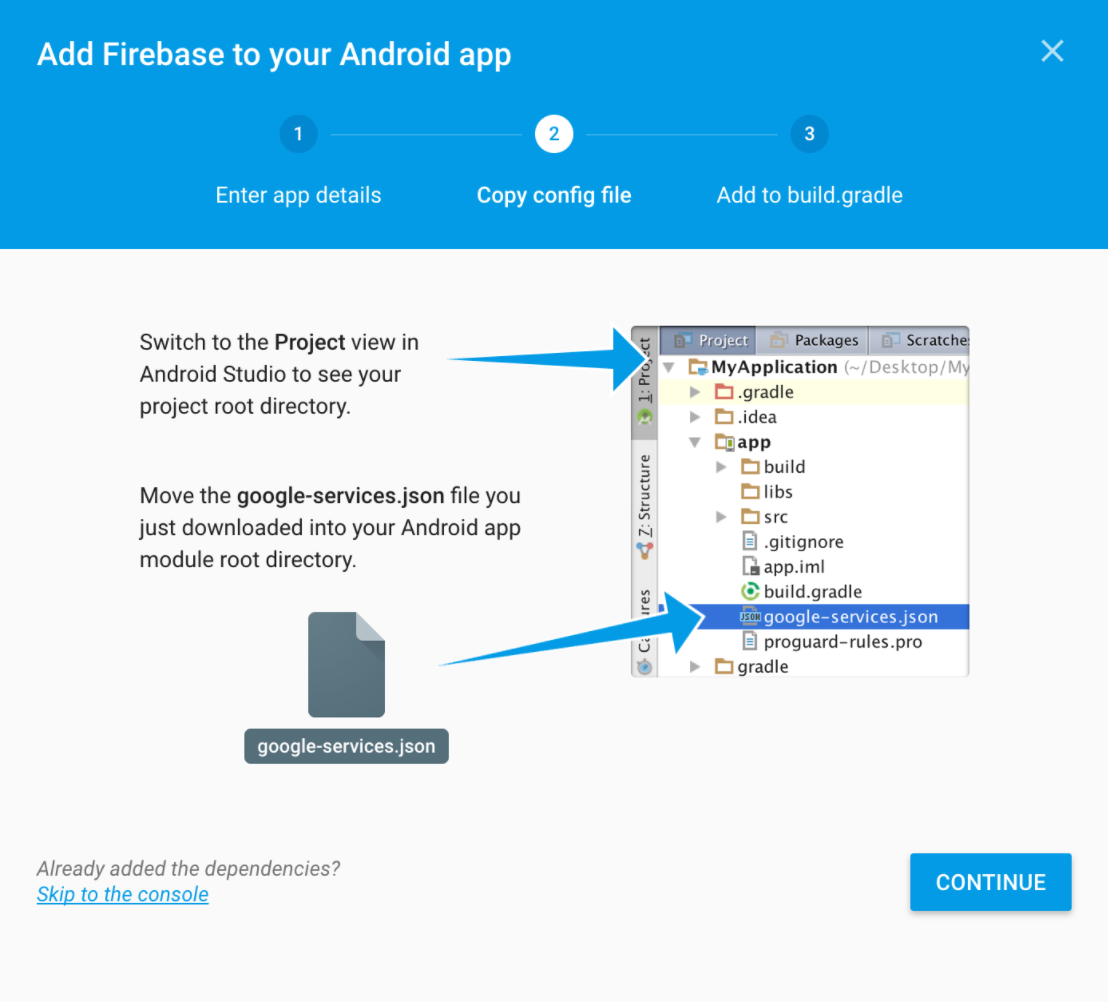
Move the resulting google-services.json download to the directory GreenThumb/app directory as instructed in step 2. When you are ready, press Continue.
Add Dependencies for Firebase Analytics
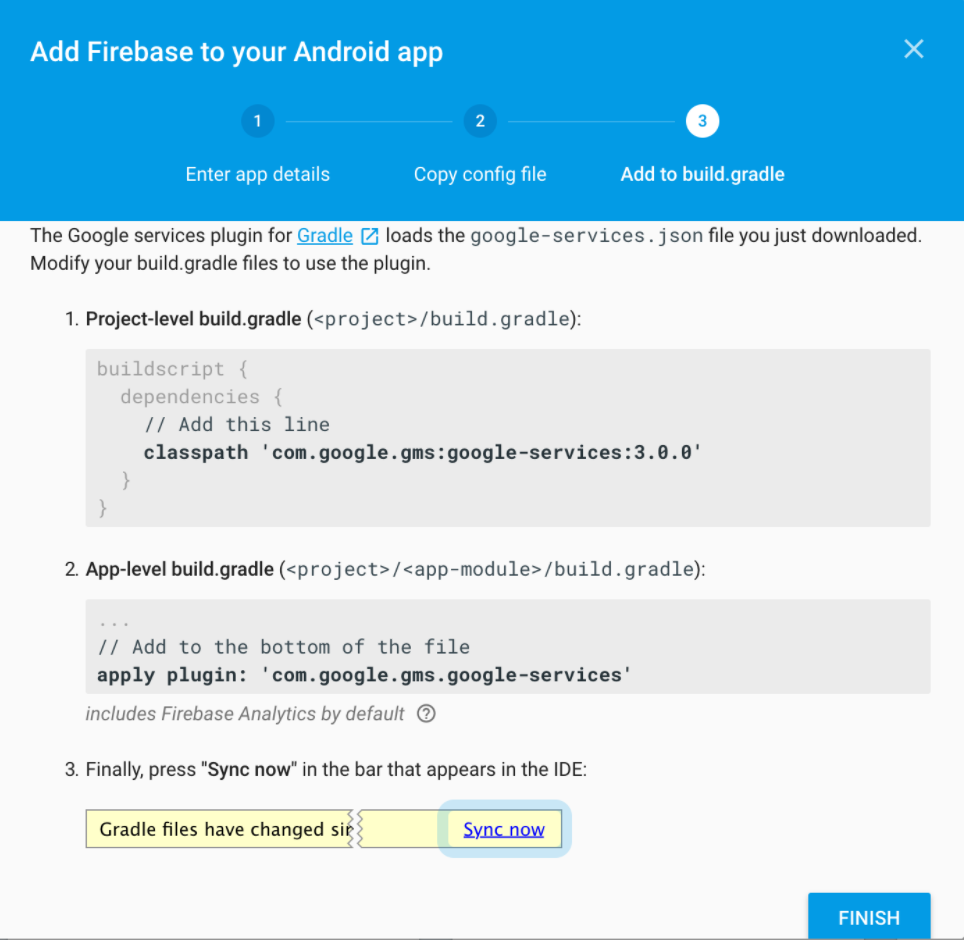
Follow the instructions given in step 3. Open the project-level build.gradle file and add the following line to the dependencies block:
classpath 'com.google.gms:google-services:3.0.0'
Navigate to the project-level build.gradle file (high-lighted). Make sure it's not the app-level one.
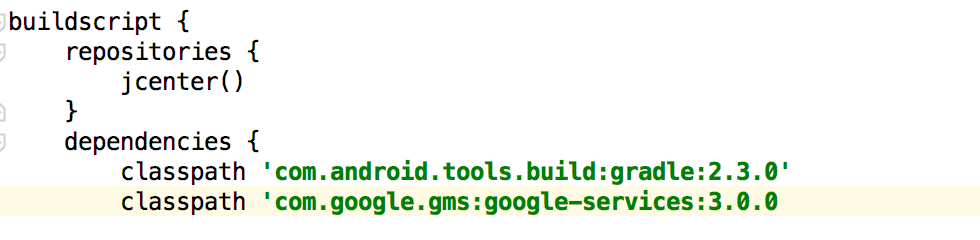
Add this dependency in the project-level build.gradle
Then open the app-level build.gradle file and add this line to the bottom of the file. Make sure it's at the bottom (Read this post to find out why order does matters):
apply plugin: 'com.google.gms.google-services'Android Studio will prompt you that the gradle files have changed and that the project should be synced. Click on "Sync Now" in the prompt or on the gradle sync icon in the toolbar
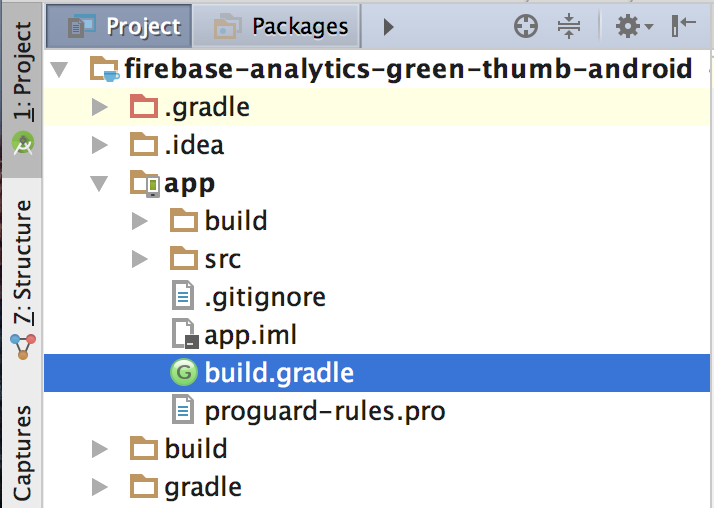
Navigate to the app-level build.gradle file (high-lighted). Make sure it's not the project-level one.
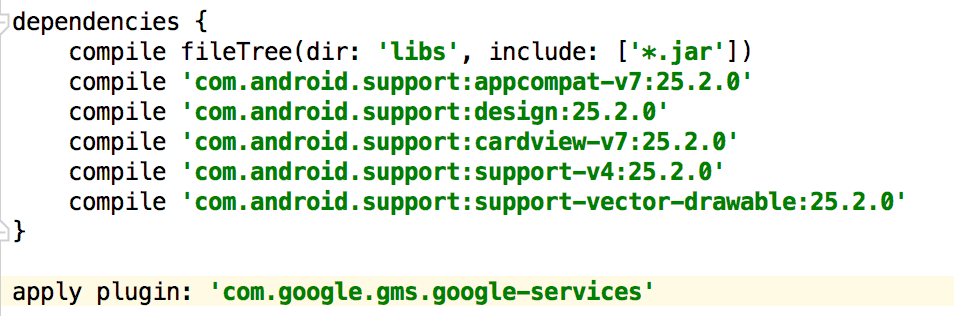
Add this plugin at the bottom of the app-level build.gradle
Android Studio will prompt you that the gradle files have changed and that the project should be synced. Click on "Sync Now" in the prompt or on the gradle sync icon in the toolbar

When you are ready, click Finish back in the Firebase console.